phpMyAdmin default configuration allows to connect to local mysql server only, But if we have multiple database server running, then it would be great if we can choose to which server we need to connect from single phpMyAdmin installation. This how to guide will help you to add multiple database hosts in phpMyAdmin, So we can select to which database server we need to connect from web interface.
After installing phpMyAdmin on your Linux/Windows systems, lets use this to manage multiple hosts from one phpMyAdmin install.
First navigate to your phpMyAdmin installation directory. Directory location may be differ with your installation method. In most case we can found it on /usr/share/phpMyAdmin or /usr/share/phpmyadmin directory.
1 2 3 | # cd /usr/share/phpmyadmin # cp config.sample.inc.php config.inc.php # vim config.inc.php |
Now add the following entries at the end of file.
1 2 3 4 5 6 7 8 9 | $i++; $cfg['Servers'][$i]['verbose'] = 'Database Server 2'; $cfg['Servers'][$i]['host'] = '192.168.1.102'; $cfg['Servers'][$i]['port'] = ''; $cfg['Servers'][$i]['socket'] = ''; $cfg['Servers'][$i]['connect_type'] = 'tcp'; $cfg['Servers'][$i]['extension'] = 'mysqli'; $cfg['Servers'][$i]['auth_type'] = 'cookie'; $cfg['Servers'][$i]['AllowNoPassword'] = false; |
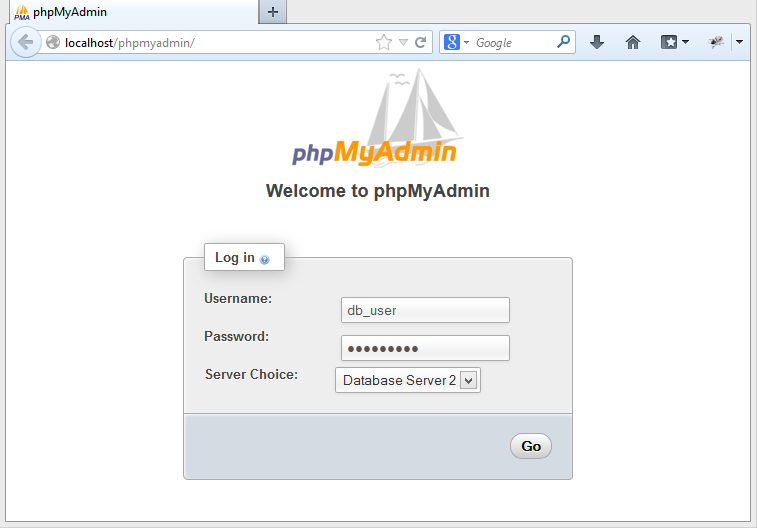
After adding the above entries in configuration file and access phpMyAdmin in web browser and you will get an option of server choice. Select server name to which you need to connect.


